Upgrades and uninstall
Upgrade procedures depend on how the application was deployed. The repository provides an explicit image rebuild/update example for manual Container Apps deployments, but it does not define an automatic in-product upgrade mechanism. Treat each update as a normal application release.
Before an upgrade
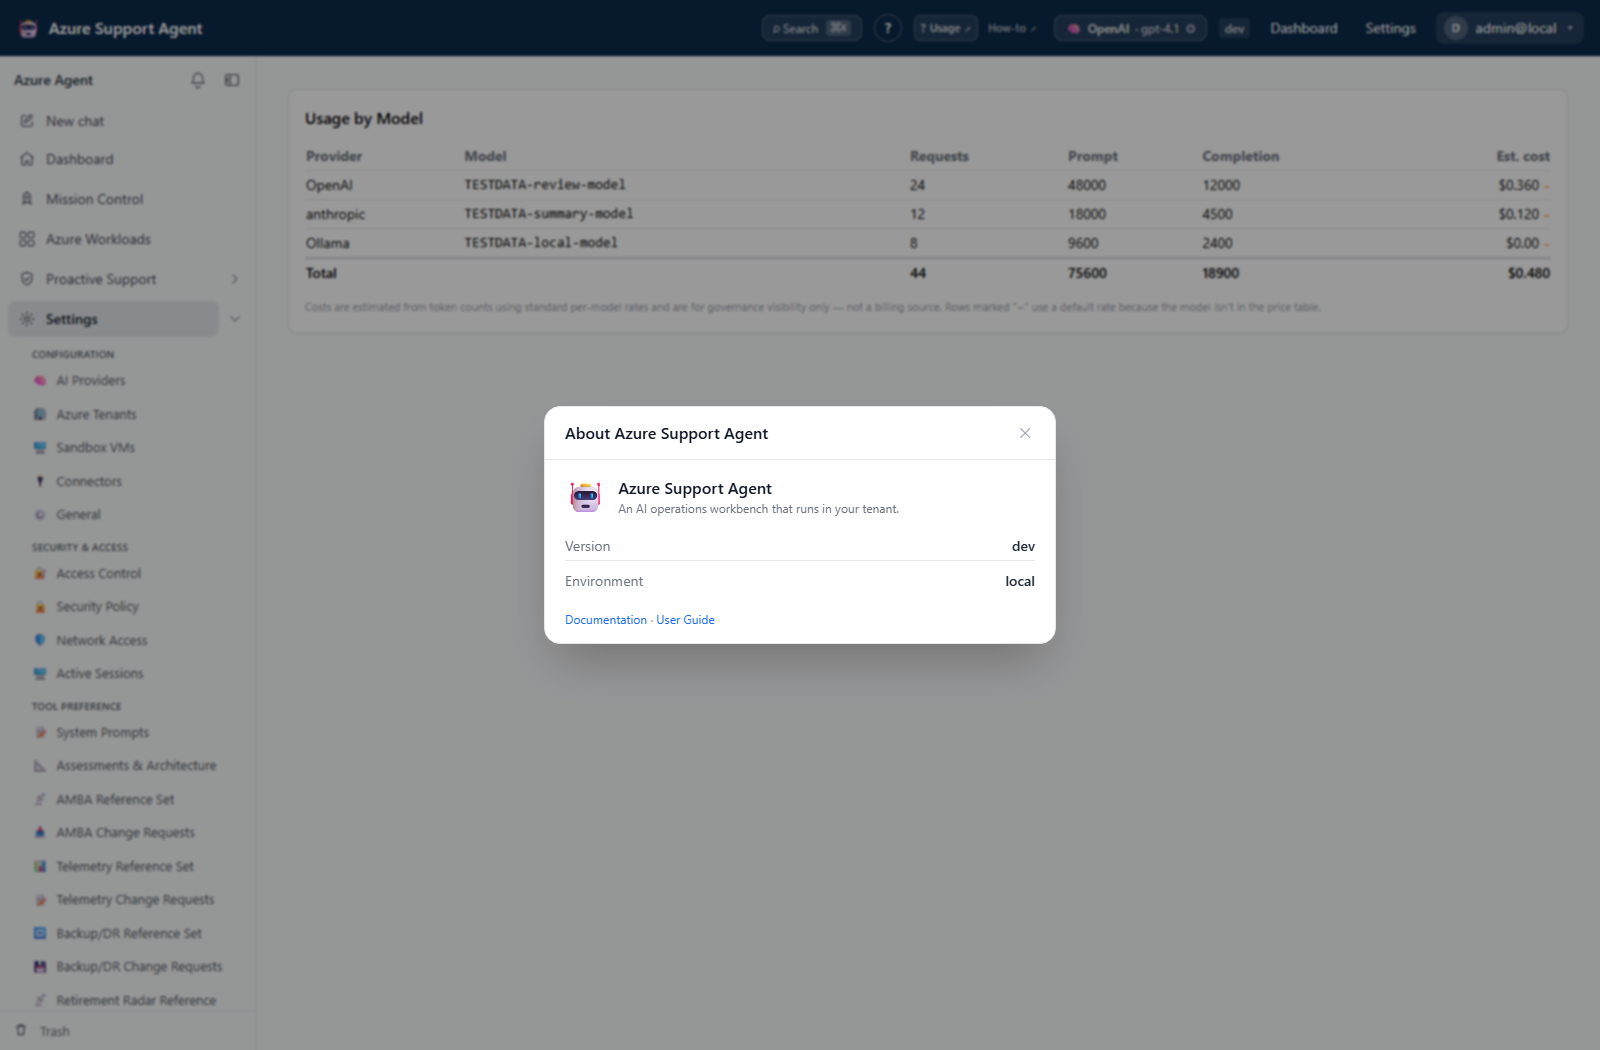
- Record the current
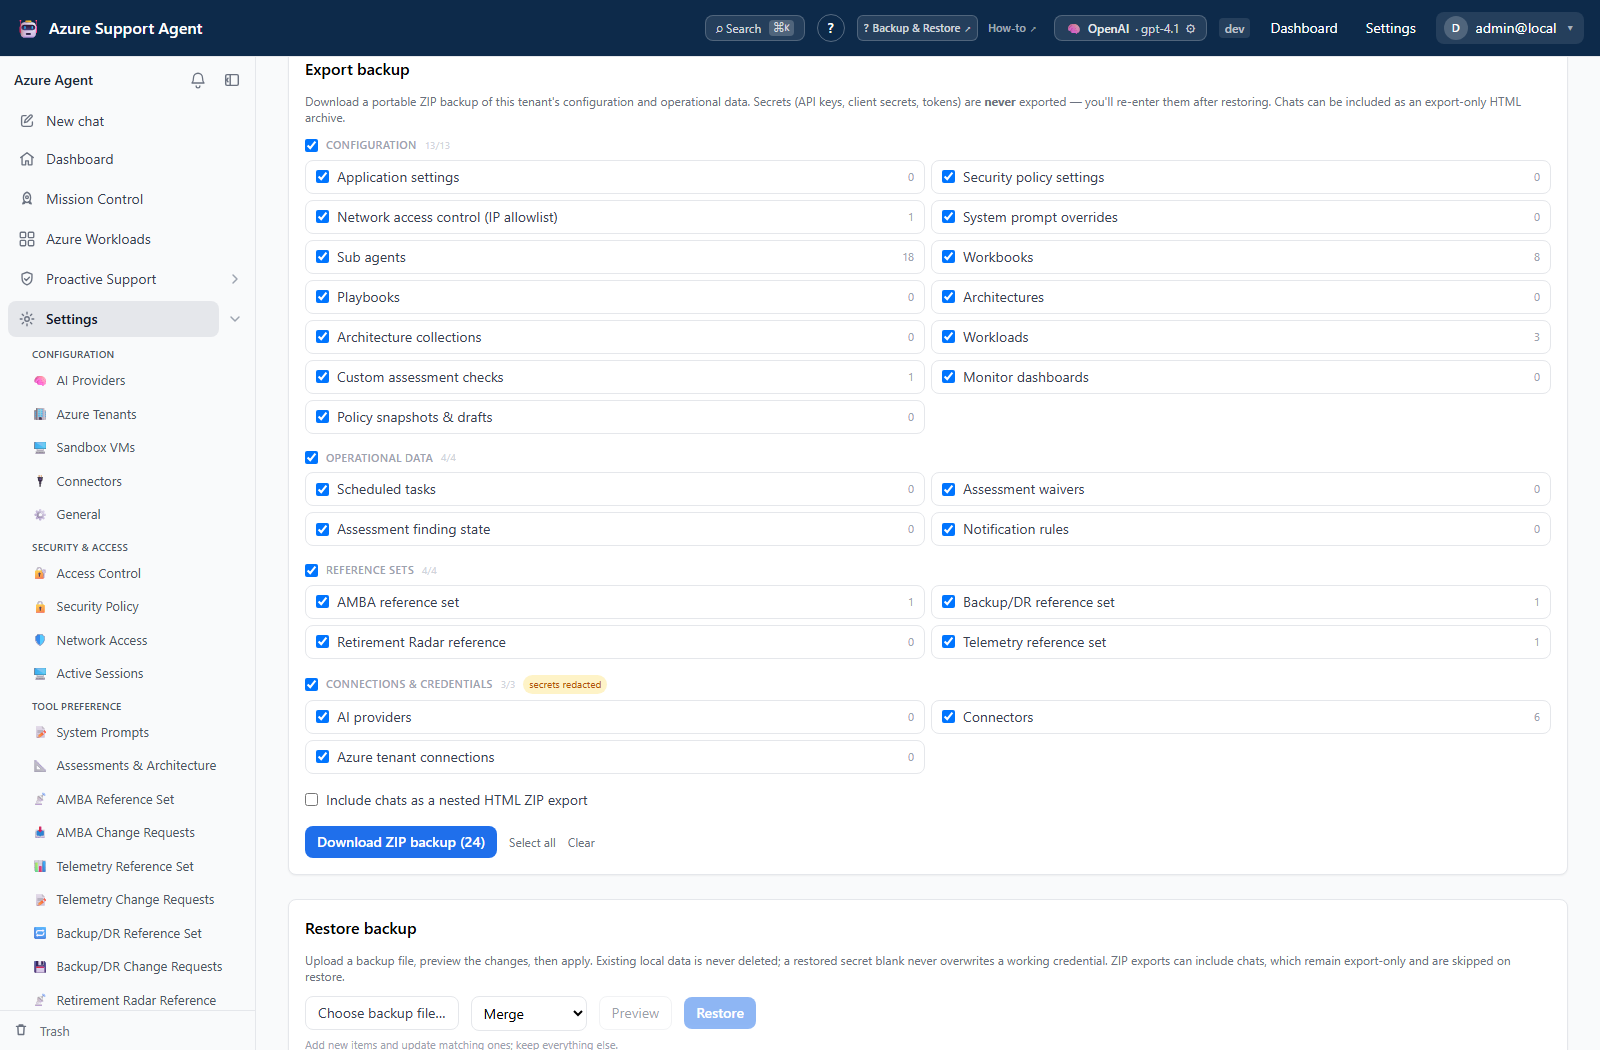
/versionbuild identity and active Container App revision. - Back up the application database and configuration using your approved method. If using the in-product backup export, remember that secrets are intentionally not included and must be re-entered.
- Review release notes and database migration requirements.
- Confirm persistent storage mounts and database connection settings.
- Schedule a maintenance window for stateful or schema-changing upgrades.
- Test the target image in a non-production environment with representative configuration.
Manual Container Apps upgrade
Manual deployment documents the supported pattern: build and scan a new image, publish it as latest, and update the Container App with a unique revision suffix. The supplied Bicep template generates that suffix automatically on every deployment.
After the new revision starts:
- Check
/healthzand/readyz. - Sign in and verify the Dashboard.
- Test one provider, one Azure connection, a basic chat turn, and a workload read.
- Confirm stored chats, workloads, and settings remain present.
- Keep the previous healthy revision available until verification is complete, where your Container Apps revision mode permits it.
If verification fails, route traffic back to the previous image/revision and restore data only when a migration changed it incompatibly.
One-click installations
The one-click template is optimized for initial deployment. Before re-running it against an existing resource group, inspect the template diff, image parameter, database resources, secrets, and storage semantics. Do not assume that every template change is non-destructive. A controlled Container App image revision may be safer than redeploying the entire stack.
Uninstall
The complete one-click footprint can be removed by deleting its dedicated resource group:
- Export any records or evidence that must be retained.
- Back up the database if policy requires it.
- Inventory the resource group and confirm that it contains no unrelated resources.
- Record dependencies such as private DNS links, role assignments, external connectors, or monitoring exports.
- Delete the resource group in the Azure portal, or use the teardown command in one-click installation.
- Remove external app registrations, credentials, Graph consents, role assignments, DNS records, and connector credentials that were created outside the resource group.
- Verify that billing and monitoring no longer show retained resources.
Resource-group deletion is destructive and asynchronous. Database, storage, logs, and evidence in that group are removed according to Azure deletion and retention behavior.
Partial removal
For a manual deployment spread across resource groups, delete resources in dependency order only after reviewing their ownership. Container registries, shared Log Analytics workspaces, virtual networks, private DNS zones, and databases may be shared; do not remove them solely because the application references them.
Troubleshooting
| Symptom | Response |
|---|---|
| New revision starts but old data is absent | Stop rollout and verify database URL, secret references, and storage mount before writing new state |
| Readiness fails after upgrade | Inspect startup/migration logs and dependency connectivity; keep traffic on the prior revision |
latest still runs old code | Force a new revision with a unique suffix as documented, then verify /version |
| Resource group deletion is blocked | Check locks, policy, dependent resources, and delete permissions |
| Costs remain after uninstall | Search for resources, role-linked services, or external dependencies outside the deleted group |