Capture and manage investigation evidence
Screenshot note: These synthetic browser-only fixtures illustrate snapshot content and comparison, not live backend records or a captured evidence bundle. The displayed SHA-256 hash and verified badge are fixture values; no cryptographic check was performed for these screenshots. The comparison is illustrative, not live verification.
Route
Open /evidence.
Prerequisites
- Product permissions
evidence.readandevidence.writefor capture and lifecycle actions. - Source permissions for every selected section and a defined retention purpose.
workloads.readfor the workload picker. An enabled Jira/ServiceNow connector andconnectors.managefor the ticket picker;cases.writeseparately for a structured case attachment.
How to capture and verify a snapshot
-
Open
/evidenceand select New snapshot. - Enter a non-sensitive name and choose workload, subscription, or explicit-resource scope. Workload capture follows the workload’s connection; the other scopes use the default connection.
- Include only required sections: inventory, properties, changes, metrics, findings, architecture, memory, or activity.
- Choose standard or audit retention and add non-sensitive tags.
- Select Capture snapshot.
- Open the snapshot and record creation time, creator, retention class, and SHA-256. Use Export for metadata including snapshot ID, size, and section counts.
- Check the detail view’s integrity result. Detail and export verify the digest; content tabs, diff, and shared reads do not independently re-verify it.
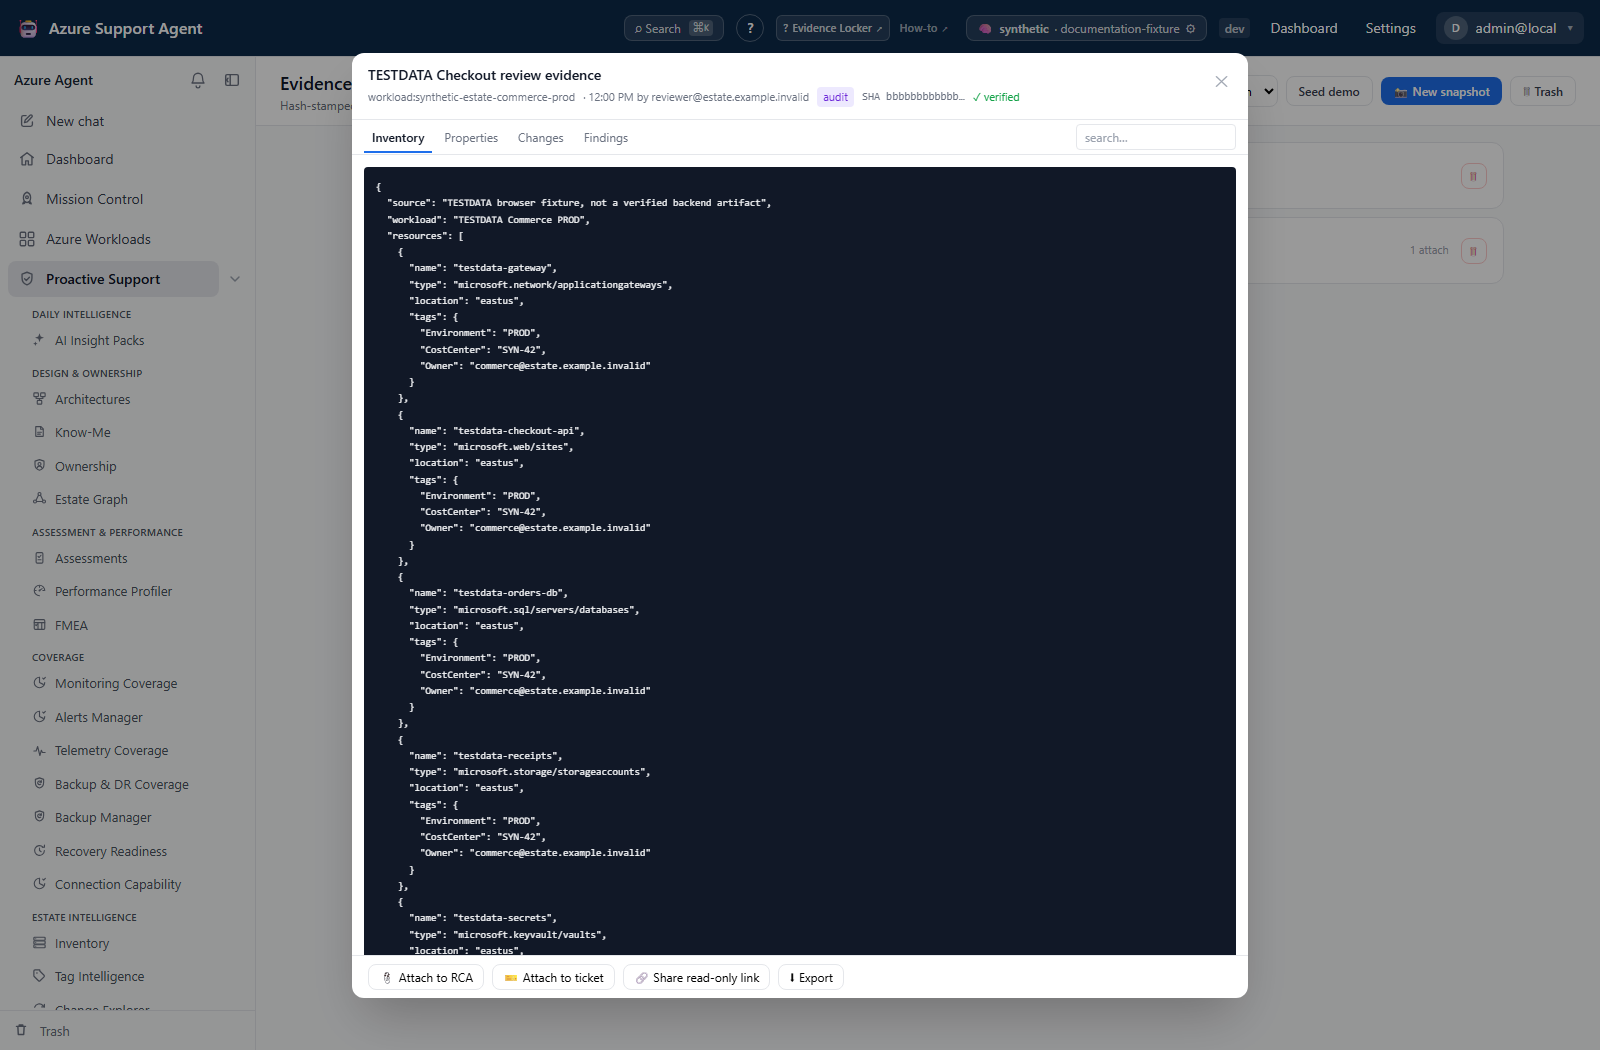
Expected result: An immutable point-in-time bundle with a recorded digest.
Verification: Confirm scope/sections and successful integrity check. Inventory capture does not apply per-membership workload exclusions. Inspect notes: metrics are currently a placeholder, findings require workload scope and saved successful runs, and Recent changes does not apply the resolved scope predicate to its last-14-days query. Confirm each resource/change target before including it in the incident’s evidence.
How to compare and export snapshots
-
Select two snapshots with comparable scope and sections.
- Select Diff selected and confirm the before → after heading. Review added, removed, and changed inventory/findings; filter by resource type or finding check ID if needed.
- Validate material changes against source systems.
- Open a snapshot and select Export for its JSON bundle with
evidence.read; there is no ZIP export or import control. - Verify exported ID, digest, generated time, and section counts, then store securely.
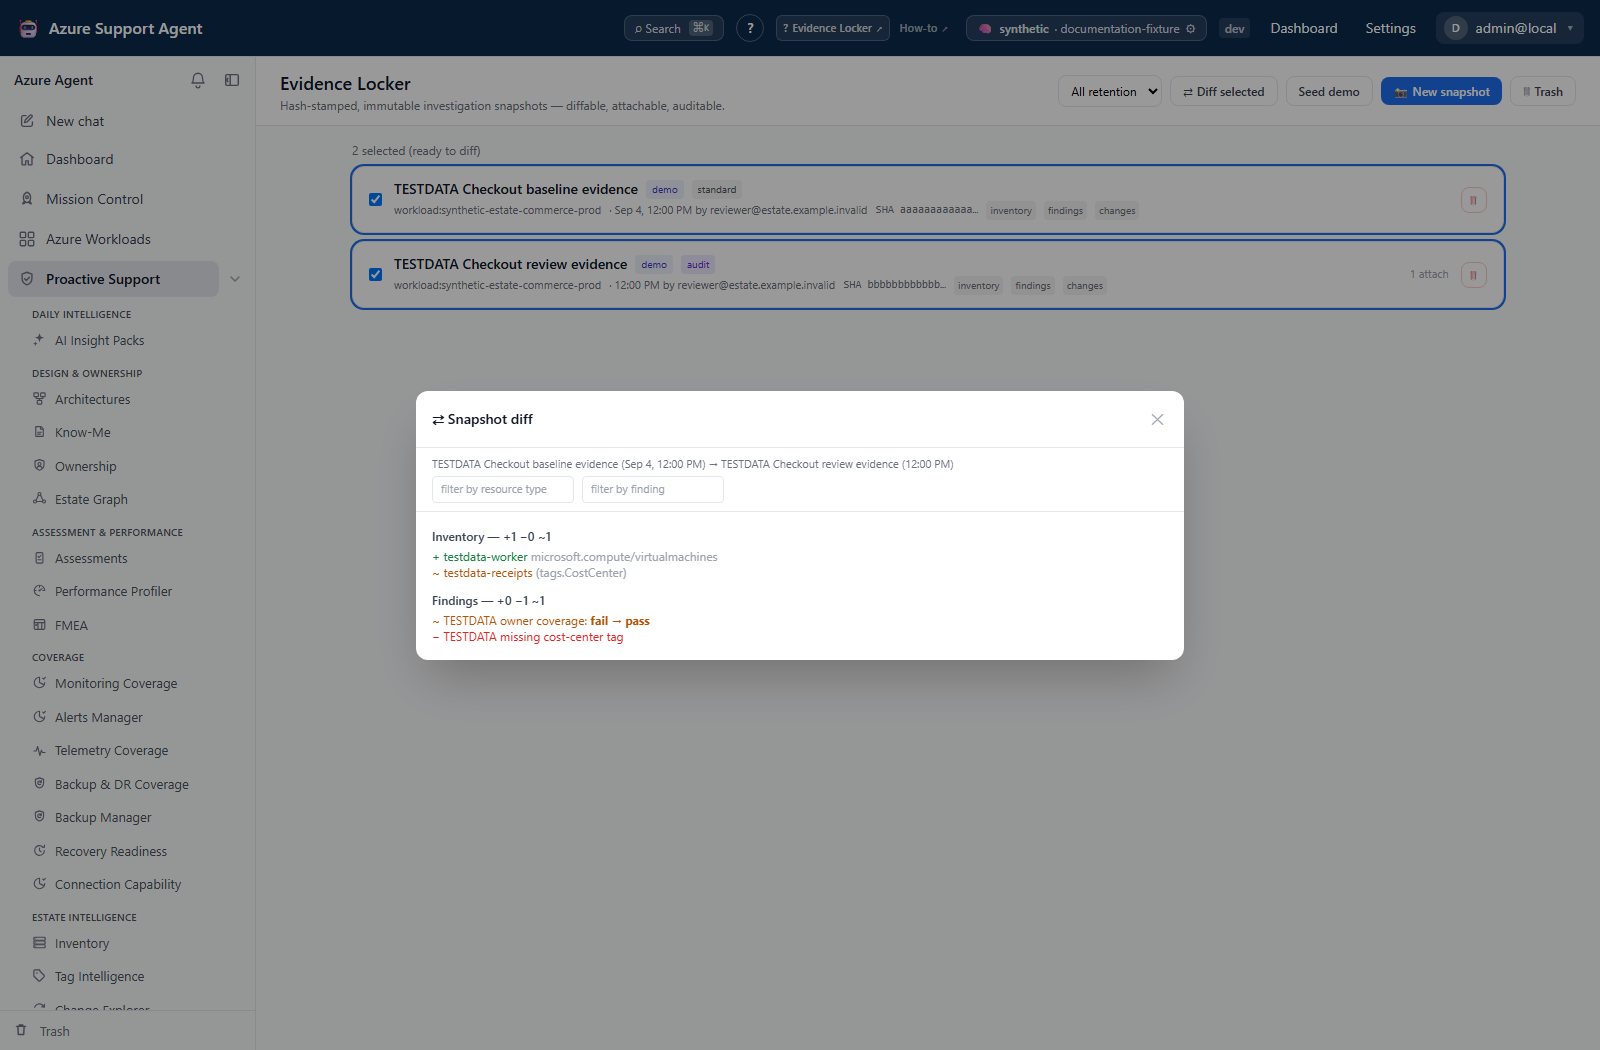
Expected result: A point-in-time comparison and portable evidence bundle.
Verification: Reopen both snapshots and reproduce key differences; a diff is not meaningful when scope/section selection differs. Only inventory and finding status/severity are compared, and large changed-field values are abbreviated.
How to attach or share evidence safely
- Use Attach to RCA for a snapshot-metadata linkage marker, not an update to a selected RCA or case. For a case, record its snapshot ID in a note or use the case attachment API with field
evidence_snapshot_idsandcases.write. - Use Attach to ticket, then choose an enabled Jira/ServiceNow connector to create a new ticket containing snapshot metadata and SHA. It sends on selection without a separate approval step; it does not upload the whole bundle or attach to an existing ticket.
- If sharing is justified, select Share read-only link and copy the token/expiry only into an approved secure channel. The UI requests 30 days and does not offer a duration editor; the API accepts a minimum of one day.
- Record recipient, purpose, and expiry; do not place the token in public tickets or docs.
- After expiry, create a new short-lived link only if access is still justified.
Expected result: Attachment/share metadata is recorded without changing the content hash. Ticket creation writes to an external system; sharing permits retrieval through the shared API rather than a public anonymous page.
Verification: Confirm the ticket’s metadata/SHA and the intended snapshot/expiry. A recipient needs authentication and evidence.read, but token lookup does not enforce caller-tenant equality. Do not assume tenant isolation from token possession; neither Trash nor a new share revokes an existing unexpired token.
How to trash, restore, or permanently delete evidence
-
Move an active snapshot to Trash when retention policy permits.
- Use Restore to reverse a mistaken soft deletion.
- Use Delete forever for one item or Empty Trash only after retention/legal-hold review.
- Read the confirmation carefully; purge removes snapshot metadata and attempts deletion of the hash-stamped blob. It cannot be undone through the application.
Standard/audit labels express retention intent, not a legal hold. Both classes allow manual purge. Automatic standard-expiry cleanup is not wired into the current application, so do not rely on the displayed 90-day/seven-year labels to perform cleanup.
Expected result: Soft deletion remains reversible; purge is permanent.
Verification: Restored items reappear with the same content/digest and cleared deletion metadata. Purged items no longer appear and must not be assumed recoverable; the purge attempts blob removal but does not certify storage erasure or removal of exported/ticket copies.
Safety and rollback
Snapshots are application writes, but content is not edited in place and Azure resources are not changed. Capture can preserve sensitive resource properties, identifiers, memory, and activity. Minimize scope and sections. Trash reverses soft deletion; purge and Empty Trash have no rollback. Treat share tokens as secrets even though shared reads also require authentication and evidence.read.
Freshness and partial results
A snapshot never refreshes; it preserves what collectors could see at capture time. Source caches, API failures, telemetry retention, and permission gaps can make sections partial. Digest integrity proves content consistency after capture, not completeness or truth of upstream data.
Troubleshooting
| Symptom | Cause and resolution |
|---|---|
| Integrity verification fails | Stop using the bundle, preserve audit details, and capture from authoritative sources again. |
| Diff is empty | Confirm distinct IDs, times, scopes, and included sections. |
| Expected section is empty | Check notes, source permission, freshness, scope, and capture selection. The metrics checkbox does not yet collect samples; repeating capture will not fill that placeholder. |
| Ticket picker is empty or attachment fails | Picker loading requires connectors.manage; attachment itself needs evidence.write, an enabled connector, and destination access. Check for a ticket created before a timeout before repeating the request. |
| Share expired or denied | An expired token needs a newly authorized share; a forbidden read needs authenticated evidence.read. Never reuse or publish an old token. |