Getting started
Use this section to move from an empty Azure subscription to a working Azure Support Agent environment. The safest sequence is to deploy the application, secure the bootstrap account, configure an AI provider, connect Azure with read-only access, and then discover the first workload.
Choose a path
| Goal | Start here |
|---|---|
| Check access, identity, model, and browser requirements | Overview and prerequisites |
| Deploy from the Azure portal with the supplied template | One-click installation |
| Build and deploy the container yourself | Manual deployment |
| Configure a new installation | First-run setup |
| Enable Microsoft Graph-backed Entra features | Microsoft Entra setup |
| Replace a release or remove the installation | Upgrades and uninstall |
Recommended order
- Confirm the prerequisites and decide which Azure identity the application will use.
- Choose one-click or manual deployment.
- Sign in with the bootstrap administrator and change its password.
- Configure and test an AI provider.
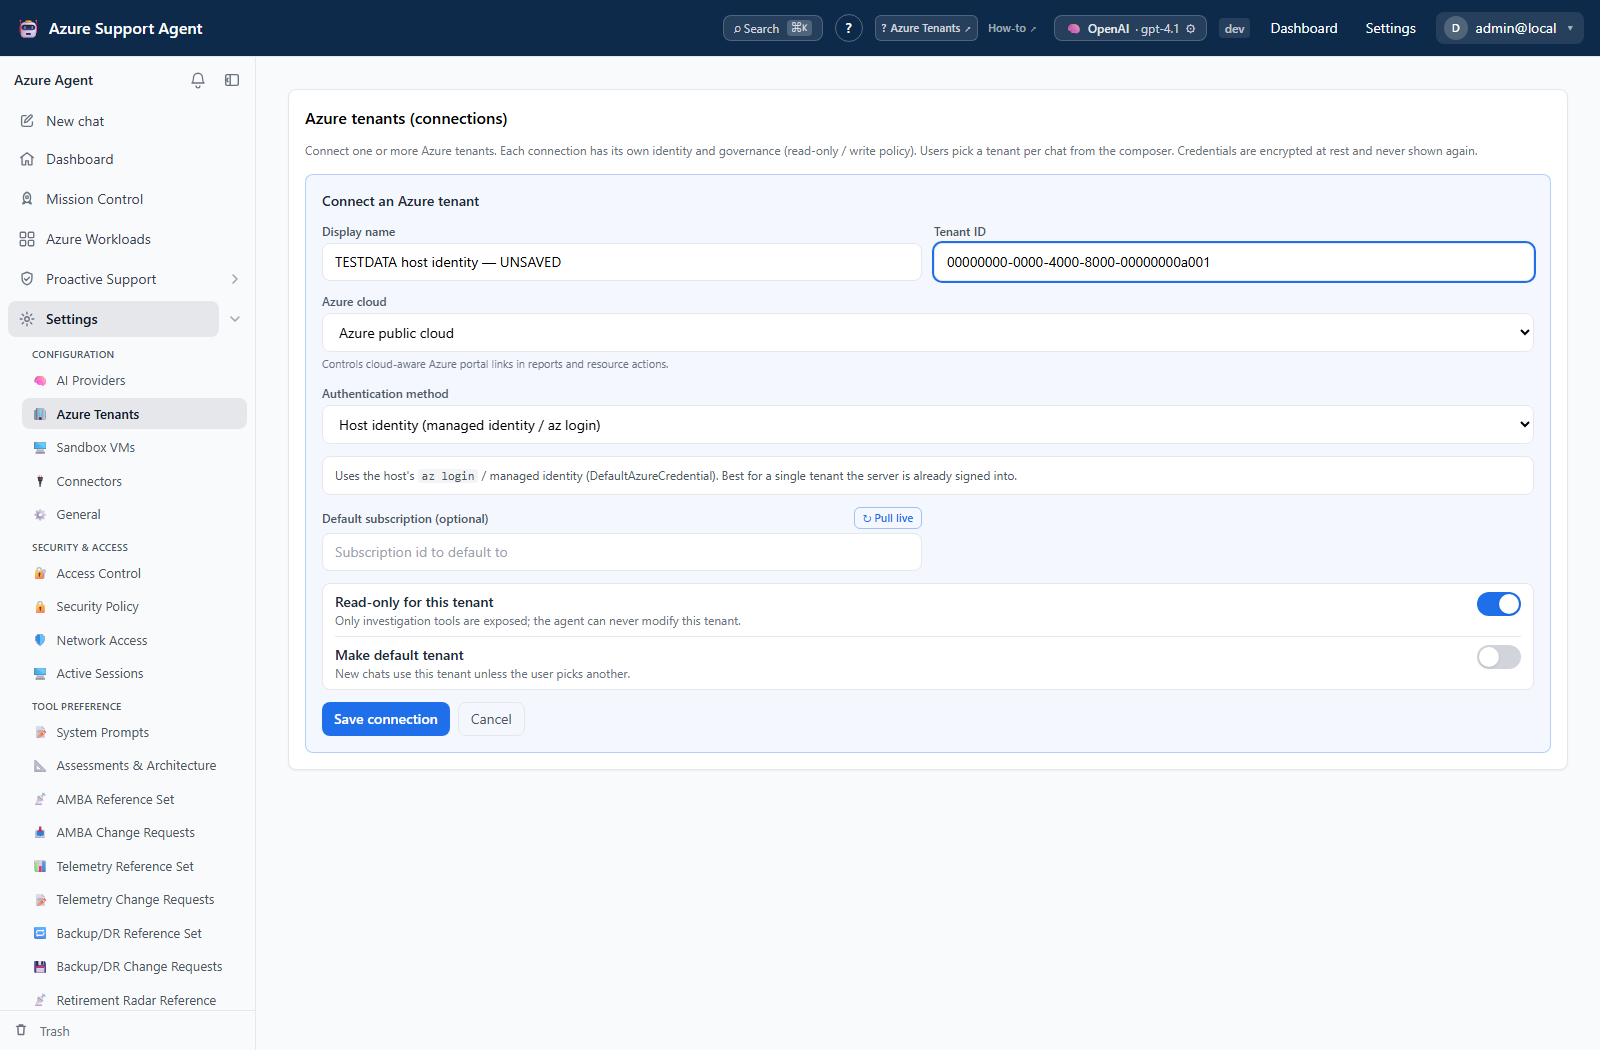
- Add an Azure tenant connection and grant only the access it needs.
- Run Workload Autopilot and review candidates before saving them.
- Add Graph permissions only if Entra-backed features are required.
Azure Support Agent starts from a read-oriented posture. Keep connections read-only while evaluating the product. Enable write permissions only for a defined workflow, and retain approval gates.
First connection: keep the boundary explicit
The connection form is the application-side step after deployment and sign-in. Choose the identity and tenant deliberately; creating this record does not grant that identity Azure access.
After onboarding
With the first workload saved, continue to the User guide for what each application area does, the How-to guides for numbered procedures, and Administration to configure providers, access, and integrations.